Night photography: Exposure and lighting techniques
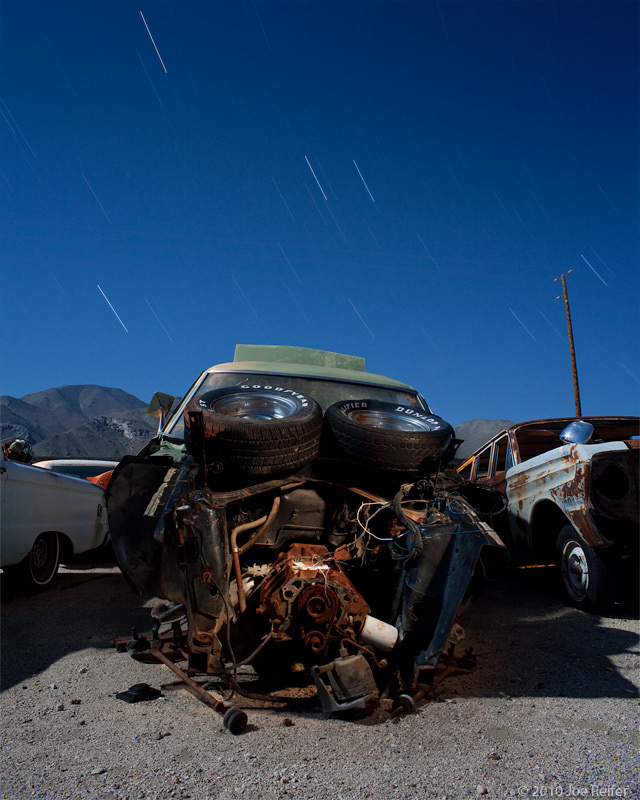
The image above was used as a light painting demo at the last Pearsonville Night Photography Workshop. Here are the exposure considerations and light painting guidelines used to create this image:
- A base exposure with no light painting for lighting assessment and post-production.
- A second exposure to stack with the base exposure for longer star trails.
- A shorter, darker exposure to control the relationship between moonlight and light painting.
- Choosing a light painting position to create depth.
1. Base exposure: With reasonably cool weather, the Canon 5D Mark II can make 10 minute exposures without the need for in-camera noise reduction. Exposure: 10 minutes at f/11 ISO 200. Here's how the engine compartment looked with no light painting:
2. Second exposure for star trail stacking: the shutter was opened immediately after the first shot finished, in order to be able to combine the sky portion of images 1 & 2 for longer star trails. For demonstration purposes, the light painting on this take was from a high angle near the camera position with a flashlight. Exposure: 10 minutes at f/11 ISO 200.
Lighting the subject from the camera position often looks too flat because everything is lit. This lighting example doesn't work because the primary rule of light painting is broken: Don't light everything.
3. A shorter exposure for more contrasty light painting: After reviewing the light painting on image #2, I did a couple more takes to get the light painting just right. Since my first two exposures for star trails were complete, I changed the exposure to 3 minutes at f/8 ISO 200. By opening up a stop from f/11 to f/8, the equivalent change in exposure duration would have been 1/2 the time -- from 10 minutes to 5 minutes.
I further reduced the exposure from 5 minutes to 3 minutes to darken the background by almost another stop. This exposure adjustment makes the light painting more contrasty -- less moonlight on the foreground means darker shadows to really make the light painted areas stand out! The 3rd image was light painted from camera right, and was used for the final image. Notice how the engine area has more depth -- the shadows provide shape and contrast:
4. Using the same 3 minute exposure as image #3, the engine area was light painted from camera left. Lighting from the left was not as successful because this flattened out the interesting pipes & wires on the right. If you're not sure where to stand to light paint, try both sides before you open the shutter.
The best way to learn these light painting and exposure techniques is hands-on! Troy Paiva & I will be teaching 2 more night photography workshops this September and October at the amazing Pearsonville junkyard. Registration opens on June 1st -- get on the email list for priority notification.


